![]()
Oxy-Acetylene Welding
Welding Steel
In most cases, gas welding bicycle frame tubing results
in weakened steel. When steel
melts, its alloys separate, and the metal crystallizes.
The worst thing is that the weld appears to be good and strong at first,
but will fail later, after some use.
However, you can use welding to join parts like pieces
of a dropout, and you may use welding to build your tools, or do other repairs
around the shop.
Let's practice some gas welding:
1. Cut two dropouts off a junk bike.
Clean them and lay them side by side on a thick metal surface (such as
the anvil portion of a vise), so you have an inch (2.5cm) of tangent surface.
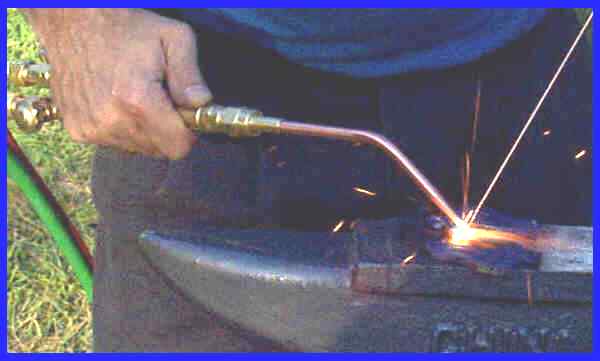
2. I'll describe this for right-handed people.
If you are left-handed, reverse everything. Light the torch with a small
or medium tip such as #2 or #3. Hold a steel welding rod in your left hand.
Using a constant small circular or zigzag torch motion, move the torch
over the right-hand side of the intersection to warm it up. Keep the inner blue cone of the flame about 1/4 inch (6mm)
away from the pieces.
3. Soon, both pieces will start to glow.
If one glows more than the other, move the torch more over the piece
that's glowing less. Move the end of the welding rod near so it heats up and
starts glowing also. After awhile, the corners of the pieces will start to melt.
Now, touch the rod to the molten corners, and while continuing to move
the torch in a small pattern, play the torch flame on the rod and the corners,
forming a molten puddle. The rod
will melt into the puddle, and the edges of the pieces will melt further.
As this happens, start moving to the left.
Add as much rod as you need to build up a bead, so that as the puddle
cools to your right, it forms a bead that's higher than the surface of the
pieces. Keep the puddle as large as
you can without loosing control. Loosing
control means that the material looses its original shape.
With sheet metal and tubing, it is easy to burn holes through, as the
puddle loses the structural integrity underneath.
With practice, you'll learn how large a puddle you can have without
losing control. Continue welding until you come to the left edge.
3a. Good welding throws a few sparks.
If you see a shower of fine sparks, you may be letting oxygen get into
the weld. Make sure the torch is
close enough to the work. Try to
avoid welding in windy conditions. Try readjusting the torch angle.
In most cases, the angle of the flame should be tipped about 15 degrees
to the left, but for especially thin materials, a greater (less perpendicular)
angle is helpful. Make sure the flame is neutral - enough acetylene.
Too much acetylene is not good though, because that can cause excess
carbon to become part of the molten metal, weakening its qualities.
3b. If your torch pops you need to make one of two
adjustments:
You may be using too small of a flame for the torch tip.
If a spark jumps into the tip, it will pre-ignite the flame in the tip,
causing the pop. When the flow is
sufficient for the tip, it can't pre-ignite.
Or, you may be submerging the blue inner cone of the
flame in the puddle of steel.
Move the torch a bit further away.
4. Let the pieces cool, then flip over, and weld the
other side. The ideal penetration -
depth of the puddle - is such that after you've welded the other side, the welds
extend all the way through the thickness of your pieces.
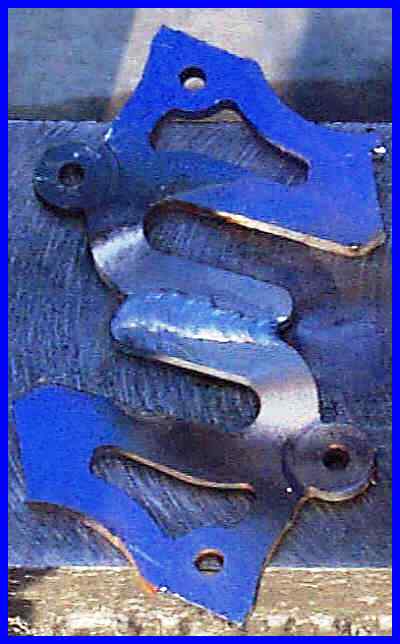
5. Test your work after the pieces cool again. Smash it apart. Ideally, it will break outside of your welds, not through them. It should be as difficult to break as if it were originally a single piece of steel.
![]()
![]()
Oxy-Acetylene Welding Main Menu
Tell a Friend About BikeWebSite
Please feel free to link your web pages to www.bikewebsite.com - Thanks!
![]()
Copyright © 1991-2014, bikewebsite.com